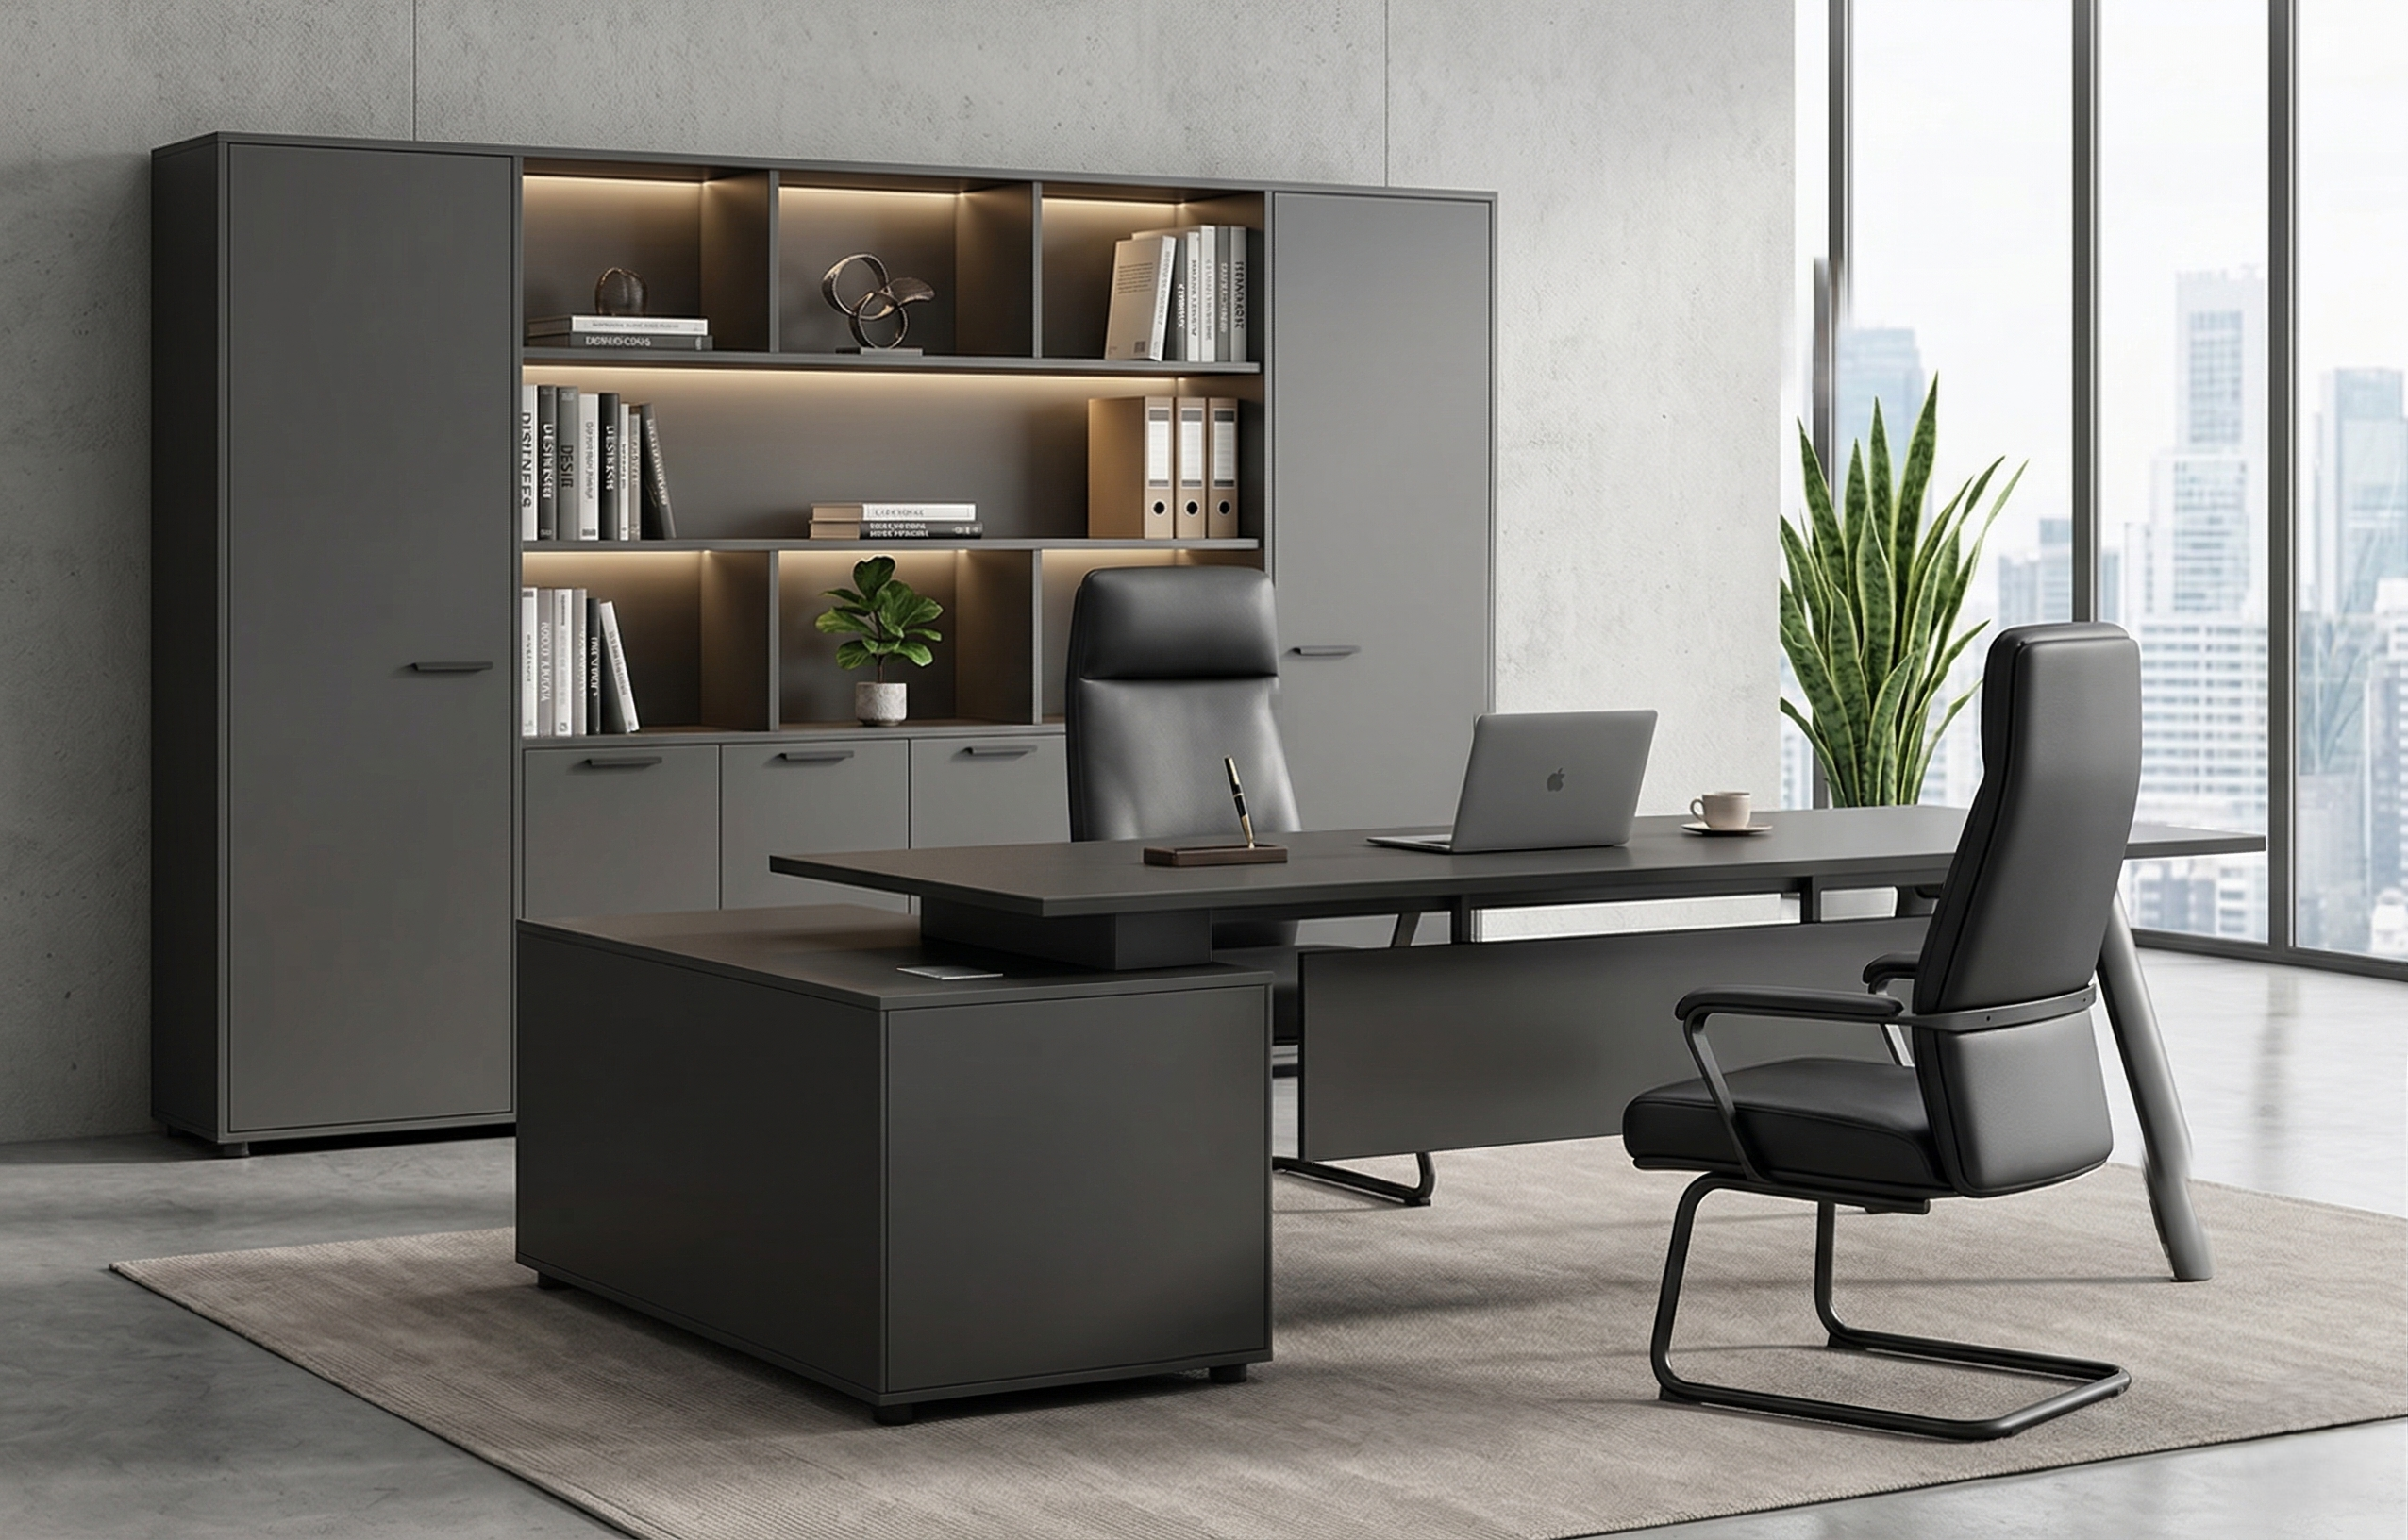
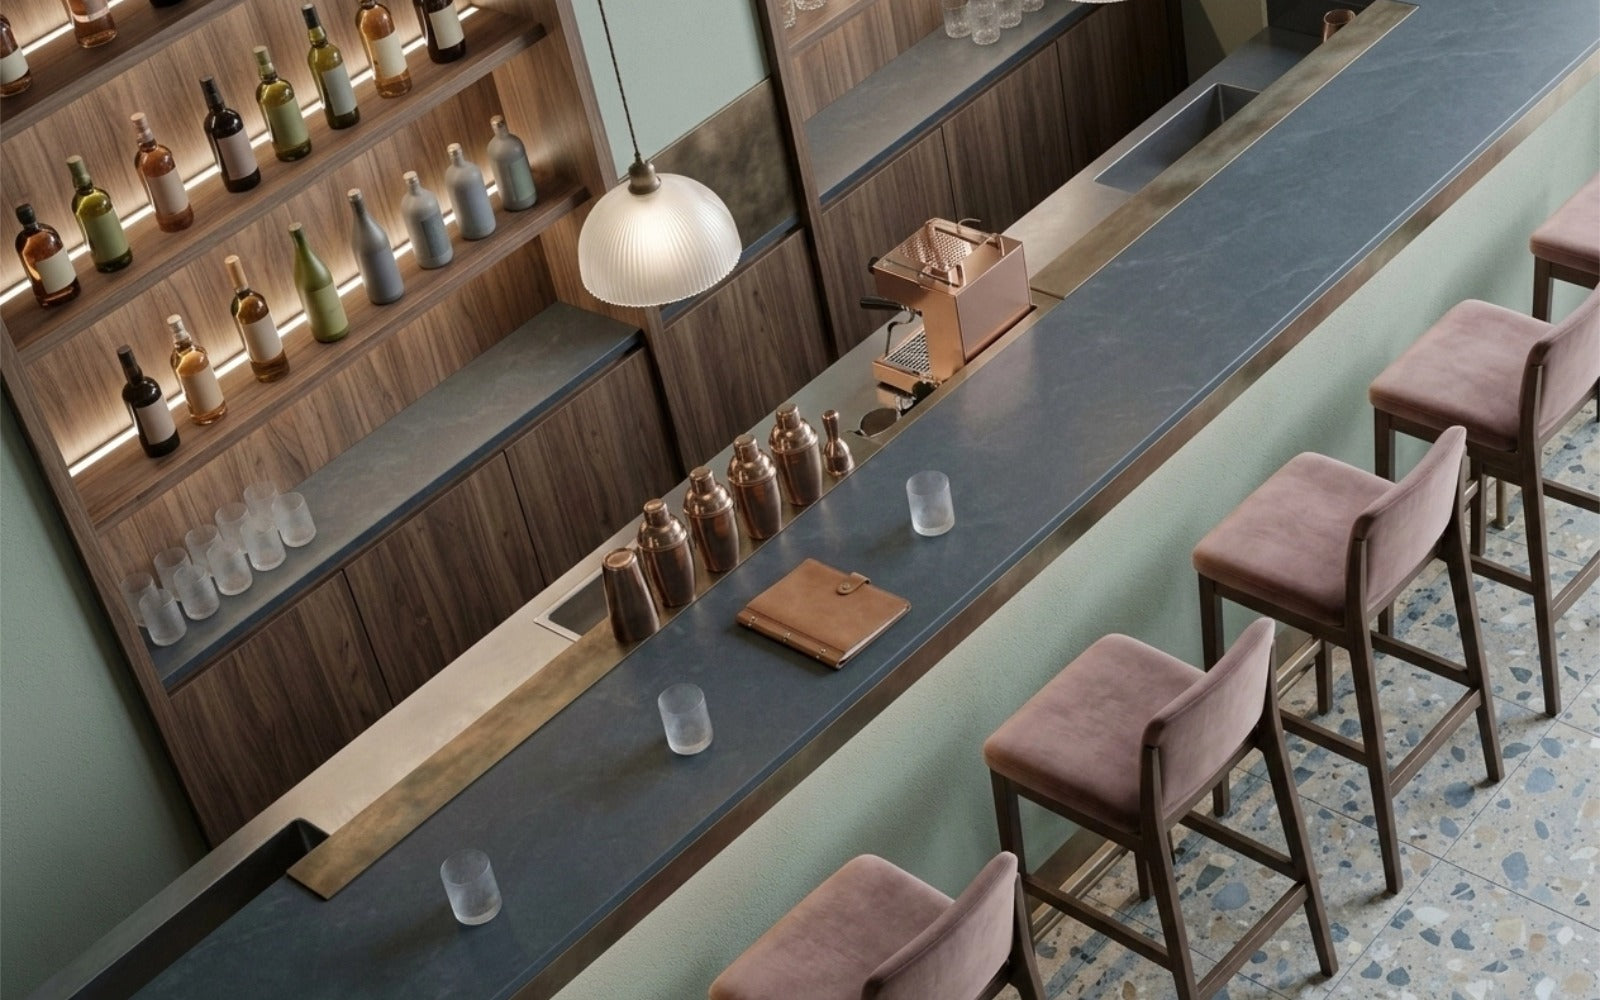
Your salon reception desk should make arriving feel easy: clients spot where to check in, your team can greet them quickly, and nobody has to squeeze past someone paying. This guide shows you how to choose its position, organise waiting and retail areas, and test your layout before buying. Whether you need a compact beauty salon reception desk or a salon reception desk with display space, start with the customer journey. A well-positioned reception counter gives your entrance a clear purpose while leaving room for the rest of your business to work.
IN THIS ARTICLE
1. Start at the Door, Not with the Furniture
2. Map the Busy Moments Before Choosing a Spot
3. Match the Position to Your Floor Plan
4. Give People Space to Move Naturally
5. Position Retail Displays Where Browsing Feels Comfortable
6. Use Shape, Lighting and Background to Build the First Impression
7. Rehearse a Busy Appointment Changeover
1. Start at the Door, Not with the Furniture
Before you move anything, stand outside your salon and walk in as though you have never visited before. Where do your eyes go? Can you tell who to speak to? Would you need to step around a chair, a product stand or another client?
Your entrance is like the opening sentence of a conversation. It should tell people they are welcome and help them understand what happens next.
Make the Check-In Point Easy to Find
Place your desk where clients can recognise it shortly after entering. That does not mean putting it directly in front of the doorway. You want a clear visual connection, with enough space for people to enter and pause.
A position slightly to one side can work well when it keeps the middle of the entrance open. In a deeper salon, a desk farther inside may suit the layout, provided signage and an unobstructed view make the route obvious.
Try the First-Visit Test
Ask someone unfamiliar with your space to walk in without instructions. Watch where they stop and look. If they head towards the styling stations or hesitate beside the door, your check-in point needs a clearer position or visual cue.
2. Map the Busy Moments Before Choosing a Spot
An empty salon can make almost any layout look spacious. The real test comes when one client arrives early, another pays, and a stylist brings someone back from a treatment.
Sketch your floor plan and draw three routes: entrance to check-in, check-in to waiting, and treatment area to checkout. Then add the paths your staff use to reach supplies and answer the phone.
Separate Arrivals from Checkout Where Possible
You do not necessarily need two desks. Often, you can use different parts of the same worktop for greeting and payment.
For example, greet clients at the end nearest the entrance and handle checkout farther along. That gives a new arrival somewhere to approach without standing behind a lengthy rebooking conversation.
Keep the payment terminal and appointment diary close together so your team can finish a transaction without repeatedly crossing the workspace.
| Area | Positioning aim | What to test |
|---|---|---|
| Entrance | Give clients room to enter and orient themselves | Open the door fully while someone stands at check-in |
| Check-in | Make the greeting point easy to recognise | Approach it from outside |
| Waiting | Keep seated clients beside the main route | Test with chairs occupied and bags on the floor |
| Checkout | Allow payment and rebooking without blocking arrivals | Simulate two clients needing help |
| Retail | Make products visible without narrowing circulation | Let someone browse while another person walks past |
| Staff access | Provide a practical route behind the desk | Open drawers and move the working chair |
3. Match the Position to Your Floor Plan
There is no single best location for every salon. A narrow shopfront, an open studio and a treatment-based business each need a different approach.
For a Narrow Shopfront
Try positioning the desk along a side wall near the front. This can preserve a route towards the service area while making check-in easy to find.
Check the full depth of the furniture, including the working space behind it. A shallow-looking front panel can hide a much larger overall footprint.
For your shortlist, explore the CAGU MODU reception desks collection and compare dimensions against your available space.
For an Open-Plan Salon
A freestanding desk can help define the welcome area. Position it so your receptionist can see the entrance while clients can identify a route towards the waiting seats.
Avoid placing it in the middle simply because the room is large. A central location may create unnecessary paths around both sides, making the arrival experience less clear.
For a Salon with Private Treatment Rooms
Keep check-in connected to the entrance without pointing waiting clients directly towards open treatment-room doors.
Think about conversations, too. Someone discussing a booking or personal treatment should not feel as though the whole waiting area is listening. Position and seating direction can help create a more discreet exchange.
4. Give People Space to Move Naturally
A layout works when people can use it comfortably, including clients with mobility aids, parents with prams and staff carrying supplies.
Mark the proposed furniture footprint with removable tape. Add chairs, display units and the space needed to open cupboards. Then walk the routes with those elements in place.
Measure the Space You Will Actually Use
Record dimensions in millimetres and include door swings, columns, skirting boards and power points. Measure the narrowest parts of the route rather than relying on the room’s overall width.
For an Australian fit-out, have your designer or access consultant confirm the access and circulation requirements that apply to your premises. Use your taped layout to discuss the proposed arrangement rather than treating it as a compliance check.
Keep Staff Access Practical
Your team needs room to sit, stand, retrieve items and leave the workstation. Check these movements with drawers open and the chair pulled back.
Also consider who covers reception during busy periods. If a stylist frequently steps in to take payment, the staff entrance should be easy to reach without walking through the client queue.
5. Position Retail Displays Where Browsing Feels Comfortable
Retail products can support the client experience when they are easy to notice and browse. They become a nuisance when a display turns the entrance into an obstacle course.
Place products near the customer journey, with somewhere for a browser to stand without blocking check-in. A wall beside the waiting area may work better than a narrow passage beside the door.
Keep the Greeting Surface Clear
Leave a clear area for payment, appointment cards and a client’s small belongings. A crowded worktop can make even a generous desk feel difficult to use.
For an integrated option, consider the RD-305 curved desk with a front display shelf. Its built-in shelf provides a separate place for featured products. Check the selected size and how clients would approach the shelf before deciding where it belongs.
Give Larger Ranges Their Own Space
If you stock several haircare or skincare ranges, a separate unit may make browsing easier. Explore display cabinets for your retail area and include their footprint in your plan.
Keep frequently discussed products visible, group items clearly and avoid placing testers where spills could reach payment equipment.
6. Use Shape, Lighting and Background to Build the First Impression
Once the position works, think about what clients see behind and around it. Your furniture, lighting and background should feel like parts of the same salon.
A calm backdrop can help your branding stand out. Keep delivery boxes, spare towels and cleaning equipment out of the arrival view, with practical storage close enough for staff to use.
Choose a Shape That Suits the Approach
Curved furniture can soften the look of an entrance, while straight designs may align neatly with a wall. Neither shape guarantees better circulation; the dimensions and position do the work.
The RD-265 fluted curved front desk is one option to compare if you want a curved profile and textured front.
You could also review the RD-270 rounded-corner cream desk for a different rounded design. Compare the chosen configuration with your taped outline rather than judging size from photographs.
Check the Light at Different Times
Visit the proposed position in the morning and afternoon. Strong sunlight might create screen glare or make the person behind the desk difficult to see.
Use lighting that helps clients read, pay and recognise faces comfortably. Decorative lighting can add atmosphere, but your team still needs a practical working surface.
Plan cable routes at the same time so power leads do not cross walking areas.
7. Rehearse a Busy Appointment Changeover
Before ordering, run a short rehearsal with your team. Use boxes or existing furniture to represent the desk and display units.
Have one person arrive, another browse, a third pay and someone else sit in the waiting area. Include bags and coats. Everyday belongings often reveal where a seemingly clear route becomes tight.
Watch for Repeated Interruptions
Does your receptionist need to ask someone to move? Does a client step backwards into the entrance while paying? Can staff retrieve a booking form without leaving the workstation?
Adjust the position and repeat the same scenario. Moving the outline a little may solve more than choosing a larger piece of furniture.
Once the arrangement works, photograph it and record the dimensions. If you need a different size or configuration, request a custom furniture quote with your floor plan, delivery postcode and preferred finish. Confirm the final specifications and delivery access before ordering.
Make Your Entrance Work as Well as It Looks
Position your salon reception desk where clients can find it easily, then build clear routes around greeting, waiting, browsing and payment. Your beauty salon reception desk should support the way your team works, while a salon reception desk with display should leave visitors room to browse. Treat the reception counter as the starting point of the client journey: measure the space, rehearse a busy changeover and choose furniture that fits the layout you have tested.
Frequently Asked Questions
1. Should the Desk Face the Front Door?
Usually, you want a clear visual connection with the entrance. The desk can face the door or sit at an angle, provided clients recognise where to check in and staff can notice arrivals. Keep the doorway and its opening area clear.
2. Where Should You Put Waiting Chairs?
Position them near check-in, beside the main walking route. Test the layout with people seated, legs extended naturally and bags nearby. Clients should be able to stand and join their stylist without moving other furniture.
3. Is a Curved Desk Better for a Small Salon?
It depends on its full footprint. A curve may soften the approach, but it can still occupy substantial floor space. Compare overall dimensions, staff access and usable worktop space before choosing between curved and straight designs.
4. Should Products Be Displayed on the Desk or Separately?
Use an integrated shelf for a focused selection when clients can browse without interrupting service. A separate display can suit a larger range. In either case, preserve a clear payment surface and somewhere for browsers to stand.
5. What Should You Check Before Ordering?
Confirm the furniture dimensions, staff workspace, visitor routes, cable access and delivery path. Check your selected configuration against a floor plan, and clarify any custom details in writing. A busy-period rehearsal is a useful final test before committing.